Monday, August 25, 2014

Rainbow Chalkboard Decor!

Hello all! I've been busily assembling things with getting my room ready for the 2014-2015 school year. I've always loved having a colorful room! I decided to class it up with a chalkboard-type feature. So, I am slowly adding the decor to my TpT store! First thing I'm selling is ABC Word Wall Headers. I'm loving it! Below is a preview of some of the letters. They measure about 5 inches across and has 6 colors, so they are easily read from across the room.


Other items that will be added to the store:
*MUSIC Classroom Expectations
*Recorder Finger Charts
*PYP Posters: Learner Profiles, Key Concepts, and Attitudes
*Isle of Rest Sign
*Riser Group Signs
*Blank Label Templates
*AND MORE!!!

Check out my store below for this wonderful set!


Sunday, July 27, 2014

Music In Action Bulletin Board Set

So in my classroom tour from a couple of years ago, many you have inquired about this! Where can I get your music in action form? Right?! Well, I finally got my act together and made a whole bulletin board set for you!

An example of how you could use the set!
The whole idea is to celebrate when your kiddos come to you and say something like..."Mrs A! I played on ___ website last night!" Or..."I looked up ___ video on YouTube to show my mom/dad." So, how do you recognize that your students pursue music outside of your class? I came up with the Music In Action bulletin board to do just that! You can use it for a year round bulletin board or for a monthly focus like Music In Our Schools Month! I personally have it up year 'round on a large bulletin board so I can recognize it year 'round. I also put up any musical pictures that they draw from me up there too. Because you always get those, right?! I hope you enjoy this and you can find a way to use it in your class!


You can get this set at my TpT store!  Check it out!


The set includes lettering, 4 musical kids, and the form that kids use to fill out for your bulletin board!  Let me know if you have any questions, requests, or suggestions!  Thanks!

Monday, July 21, 2014

PicMonkey!

So, how does one create their own logo, header, flier, etc on the cheap? Well, PicMonkey is a pretty great tool that's easy to use! If you're familiar with some simple photo editing software or things like Instagram as well, then PicMonkey might be a tool to use! Most things are free, but if you want to pay a monthly fee of $4.99 or a yearly one of $33, you can get some really cool features, too!

I wanted to give my blog a more updated look, something unique to me and to the blogging world. However, I wasn't quite ready yet to take a plunge and pay a pro to design it. I was toying around with PicMonkey to design my header and background image. It is so much more than a way to edit images. You can also use it to design many things, such as a logo, header, fliers, posters, etc. I HIGHLY recommend giving it a look.


There are several tutorials out there that people have posted to help you make a variety of things! I've listed some that I have found below.


And OF COURSE, if none of these tutorials help you out, there is always Pinterest! 


Tuesday, July 8, 2014

Teachers Pay Teachers Store


Hey all!  Well, I have decided to jump right in and start a Teachers Pay Teachers store for selling some items. I know some of you have asked for things that I have created here and I thought the best way was to set up an account. Some of you may already have encountered my Daily Lesson Plan Template. It's up on my TpT site and it's for FREE! AND Editable! Always a bonus, right?!

I'm pretty excited for this!  All proceeds will be currently going towards our adoption. My husband and I have been currently in the process of growing our family through adoption. But unfortunately it's not a cheap endeavor! So I thought that I would get out in the world my teaching materials that I have slaved hours over and have that go towards our future family!

So, stay tuned for more updates on items that will pop up on my TpT Store!

Tuesday, April 1, 2014

Structuring A Centers-Based Approach for Recorder

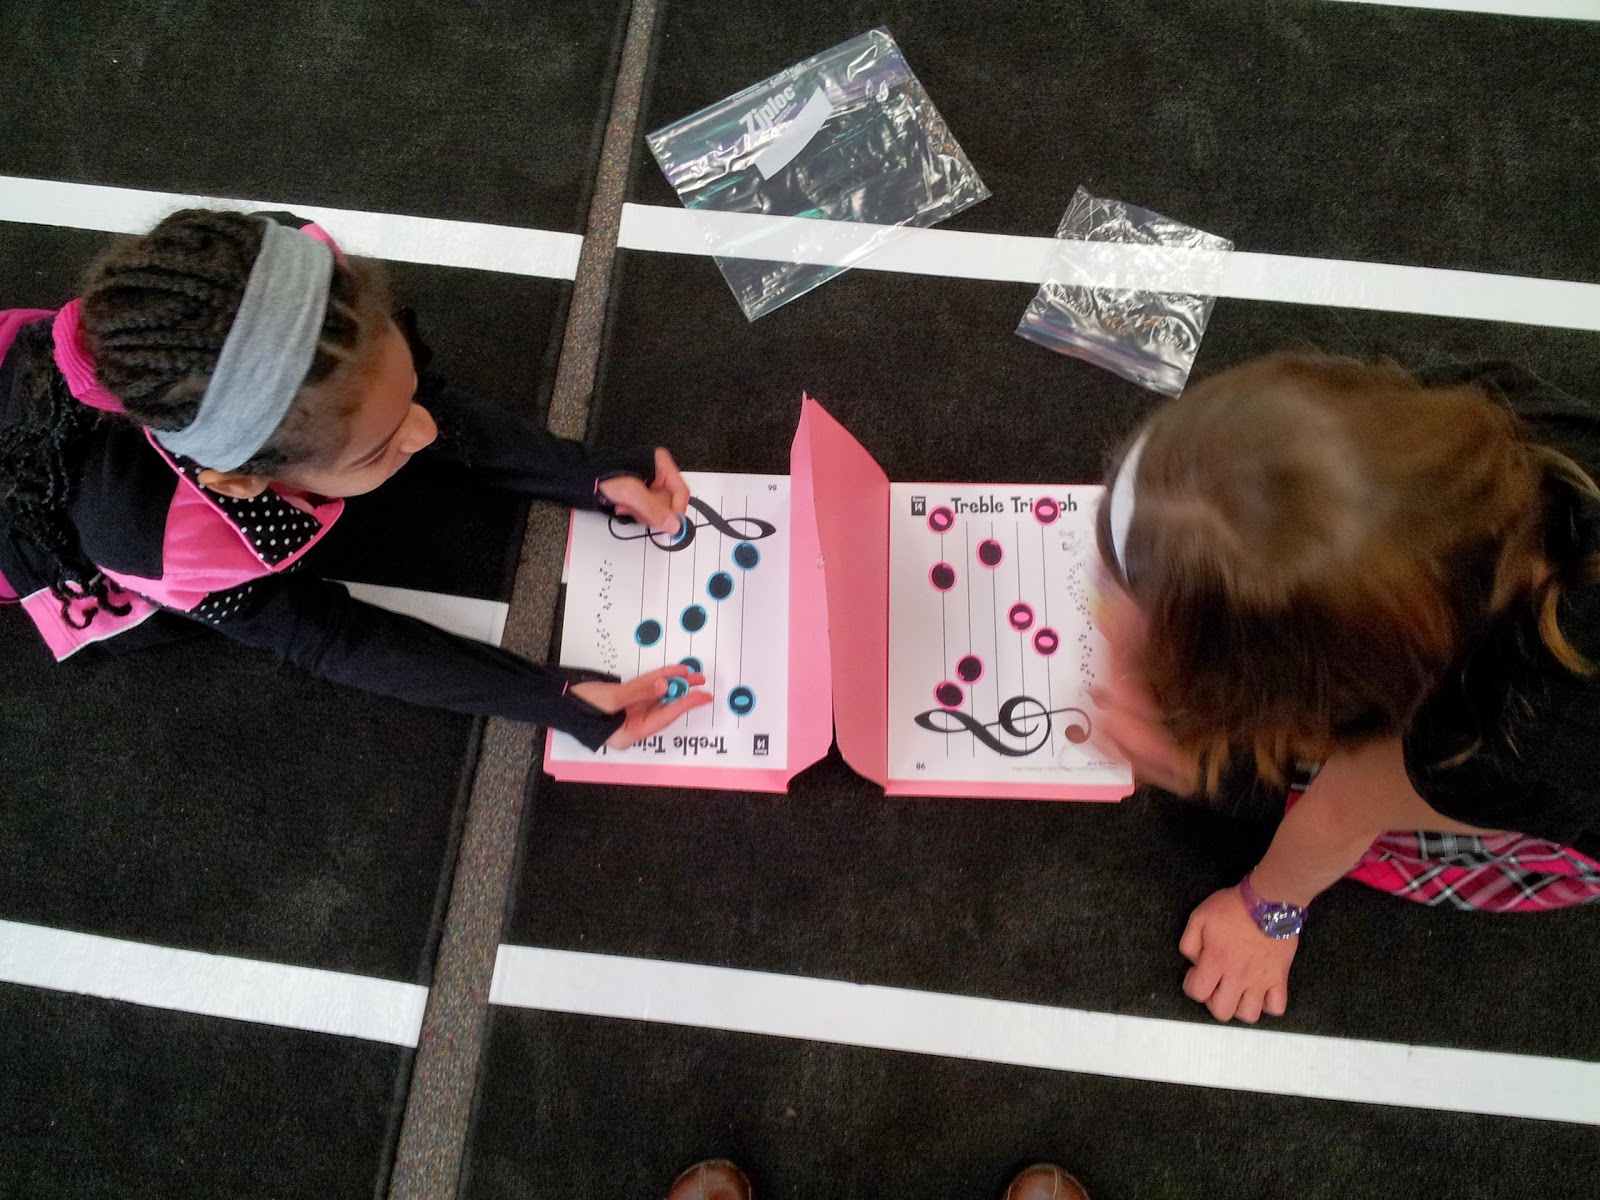
This year my goal for the school year was to begin implementing more of a centers-based approach to my instruction, but I knew that I would be too overwhelmed to do it with all grades, so I decided to focus on my 4th graders to help them with their recorder.

The reason for starting there was that I felt I never had enough time to do it all! Ain't that the truth...Never enough time to do recorder and doing whole group instruction, test for recorder (I do Recorder Karate), and teach new concepts (time signatures, key signatures, and other music vocabulary.) To design lessons that were whole group instruction for each would be ridiculous and I didn't have time for that! Then I started wondering, does it all have to be whole group instruction with me in the front delivering lessons all the time...? Of COURSE not! There are so many wonderful activities, technology, etc that can teach the material for you and kids can learn a new concept independently! So last year I came up with this plan or how I would structure lessons and I love how it's going so far!

***Something to keep in mind.... I see the same group of kids every other day for 30 minutes.***

Lesson 1: Teach Day--This is where I give whole class instruction to teach certain skills, new terms and symbols, play through songs together as a class, split into groups for additional group practice times, etc.

Lesson 2-4: Centers Rotations (3 days, 2 centers/day, approx 10-12 minutes at each center) The centers I use are as follows...

  • SmartBoard Center
  • Pitch Name Center
  • iPad Center
  • Rhythm Center
  • Group Practice Center
  • Teacher Center

*NOTE: Each center would switch out and change each time we'd do a new round of centers. I have blog posts that share ones I've been creating.  Also note that kids are split according to what belt they are currently working on

**The Teacher Center was where I could give more individualized instruction for kids. It was a help time if they needed it, but if they did not need my help, I used it as additional testing time for those kids who cruised!

Lesson 5: Testing Day--This is when I would have kids do group practice for the day and I would go from group to group to hear kids play songs and pass to the next level (if they were ready). If students were not ready, then they used the day as practice.


What I found to be crucial to success was to have expectations VERY clear from the beginning, laying out what they need to accomplish at each center (some centers would sometimes require kids to turn in something-so that held them accountable). Clear directions for each center are also very important.

The students are thriving in this structure! I found kids are motivated to do the activities at the center (it honestly feels like "free time" for them) and they are excited to come to ME for help and instruction. And they are satisfied that if they are not ready to test yet, they know what they need to do to prepare and work towards testing day! Students advance rapidly when I am able to give them more individual instruction (almost like private lessons), plus being able to give them the time to work on skills and to test if they are ready is a bonus.


As a side note...

When beginning recorder I found this quote that has been driving their practice time and our whole approach to recorder...I mean how many of these little guys think that when they pick up the recorder they are going to be like Mozart and be an immediate virtuoso?! Then reality sinks in and oh my goodness...this was a lot harder than I originally thought. So kids now have this quote in the back of their minds driving them through those hard times.

"In this room we don't do easy. We make easy happen through hard work and learning."
      -- found on venspired.com by Krissy Venosdale

So when kids struggle and they say things like "This is too hard!" I affirm them and say, "YES! It is! But with your hard work, you are making easy happen!"  It's fun to start looking back to the beginning and remind the kids, remember how hard it was to hold the recorder at first?! Is it easier now? YES! Because you did the hard work! I love it! It's teaching them what you need to do to be successful on an instrument. Practice! Practice! Practice!

Bottle Cap Rhythms

I'm in center creation mode! My 4th graders are in the midst of Recorder Karate for the remainder of the school year and I am approaching how they learn recorder through a centers-based classroom. It is my hope to one day begin implementing the same approach with other grade levels when learning about a certain concept that they have time to work in centers to independently learn said concept.

SO-I am a Pinterest freak! I love finding new ideas and using them or modifying for my use in my classroom. I found a picture of Bottle Cap Rhythms on Pinterest, but it only linked to a picture. So, to whomever thought of this, THANK YOU! I am excited for my students to use them as part of their centers this week!

How to make:

1.  Bottle Caps:
Where did you get all those bottle caps?

  • I sent an email out to the staff here at school requesting that any bottle cap that they use that they would send them my way.
  • I slowly collected them for a month, and I have MORE than enough. I'm going to save extras for other possible centers ideas with pitch names or music symbols, etc.


2. Labels:


  • I used the typical Garage Sale dot stickers from Office Depot to write the rhythms, time signatures, and bar lines on.
  • They fit PERFECTLY onto water and pop/soda caps.


3.  Storage:

  • I used your typical pencil box to store all the bottle caps and directions in. I used a half sheet to print directions and notation values onto.


How To Play

It's pretty straight forward, I created some directions for kids with the backside showing the notes they can use and their values.

Directions:

1.  Choose a Time Signature and place in front.
2.  Create rhythms using the bottle caps as notation.
3.  Use Bar Lines to separate measures.
4.  Use the Double Bar Line to finish your rhythm.
5.  Make sure that each Measure (space between the bar lines) has the correct number of beats that matches your time signature.
6.  Clap and Say your rhythm.
7.  Play again!


*I will be adding a step for recorder where kids choose a pitch and play the rhythm on the their recorder.

Notation side of directions with the values to assist kids in accurately grouping notes into measures.

Example of a created rhythm for students to clap and say/play.


Wednesday, March 19, 2014

Busted! Treble and Bass Clef Versions

This summer I came across a rhythm game on Pinterest called Busted! It seemed really fun and SUPER easy to make!  All I needed was some color craft sticks. It's a game where kids go around the circle and take turns pulling a stick from a cup/jar and say the rhythm on the stick. It's cumulative, so each time they pulled a stick, they had to start with their first one and say all that they had in order. Well, if someone pulled a Busted! stick, they needed to put all the rhythm sticks back into the cup and start all over. You play the game until all sticks are out.

**See the original pin here from Stay Tuned! by Steph.  Great blog!  Thank you for the inspiration for another version!

So, I was sitting around my house on the multiple snow days we had this year (count 'em: 6 snow days!) We've only had 1 in the past 5 years!  I digress...back to my inspiration.

My students LOVE Busted! So, I thought, HEY!  ...why not create a pitch name one both for Treble and Bass Clef?!  So, I did!  I love it when I get a clever moment.


It essentially is played the same, but instead of saying all the rhythms, kids pull a stick and say the pitch name, and they need to go back and each one in a row. When a Busted! stick is pulled, then all the pitch name sticks are returned to the cup.


Game directions: